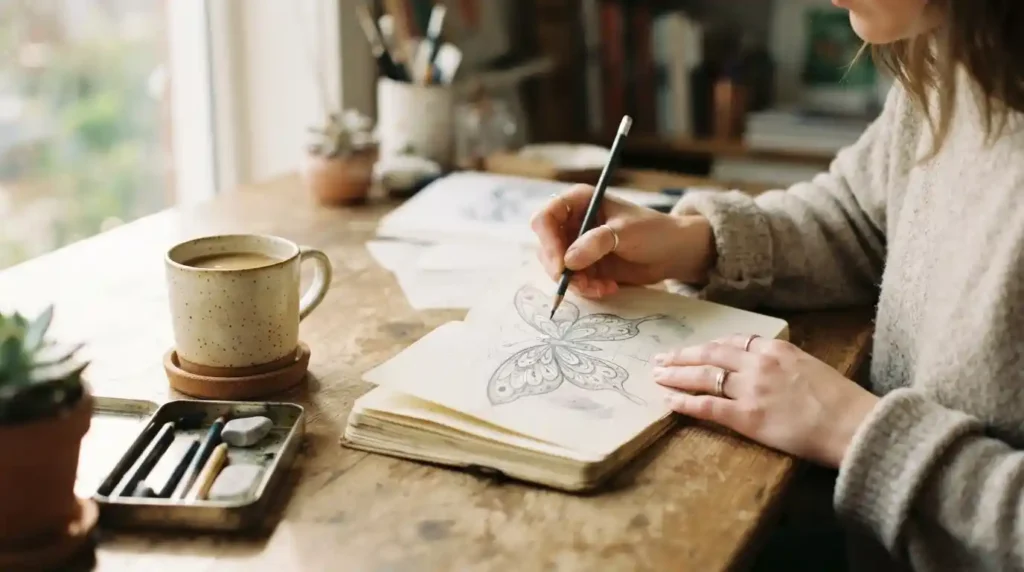
⚡ QUICK ANSWER: A butterfly tattoo drawing is your design sketched on paper before the artist makes a stencil. Sketching it yourself helps you test sizes, refine details, and communicate exactly what you want. The key is the symmetry trick — draw one wing, then mirror it — and keeping details bold enough to survive on skin.
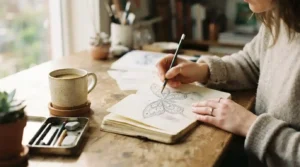
A butterfly tattoo drawing is where your ink is really born — long before the needle touches skin. It’s you, a pencil, and a coffee, deciding whether those wings curve up or down, whether the antennae swirl or stay straight, and whether this design finally feels like yours.
Here’s the secret nobody tells you: you don’t need to be an artist to sketch your own tattoo concept. You just need six simple steps, one symmetry trick, and a few honest rules about what translates from paper to skin. Below you’ll find all of it — plus 40 drawing ideas organized by style, ready to trace, tweak, or steal.
📌 KEY TAKEAWAYS
- You don’t need drawing skills — a simple concept sketch beats a Pinterest screenshot every time
- The symmetry trick: draw one wing half, fold, and rub to mirror it instantly
- Paper details must be bolder than pencil — skin blurs anything finer than a 0.5mm line
- Bring your sketch to the artist: it communicates intent better than any reference photo
- Test your finished drawing as a temporary tattoo before booking
Why Sketch a Butterfly Tattoo Before Your Appointment?
Most people walk into a studio with a saved Instagram photo and hope for the best. Sketching changes that. Even a rough drawing forces you to answer the questions that decide whether you’ll love this tattoo in ten years: How big? Which direction do the wings open? What details actually matter to you?
There’s a second benefit most people miss. The meanings you want your butterfly to carry — transformation, freedom, a specific memory — shape the design itself. If rebirth is your theme, maybe the wings emerge from a dissolving line. Sketching is where butterfly tattoo meanings and symbolism turn into visual choices.
And no, your sketch doesn’t need to be good. It needs to be clear. Artists interpret rough concepts every single day — it’s literally their job.
How to Draw a Butterfly Tattoo in 6 Simple Steps
Grab a pencil, an eraser, and any paper. Fifteen minutes is enough for your first attempt.
- Draw the body line. A straight vertical line, about the height of your thumb. Add a small oval near the top for the head and thorax, and a slim teardrop below for the abdomen. This center line is your symmetry anchor.
- Use the symmetry trick. Fold your paper in half along the body line. Draw only the left wing pair, pressing firmly. Fold, rub the back with your fingernail, unfold — a mirrored copy transfers to the right side. Trace it lightly. Perfect symmetry, zero frustration. (No folding? Sketch a light grid or trace one wing on tracing paper and flip it.)
- Shape the upper wings. Think large soft petals sweeping up and out from the thorax — like a wide letter “D” rotated outward. Keep both sides matching.
- Add the lower wings. Smaller, rounder shapes tucked beneath, about half the size of the upper pair. This ratio instantly makes it read “butterfly” instead of “moth.”
- Detail the wings. Draw 2–3 veins radiating from the body through each wing, then add your patterns — dots along the edges, gradients, an eye spot. Keep elements spaced apart; details that touch become mush on skin.
- Ink the final lines. Erase the guides and go over your design with a 0.5mm fine liner. This is your artist-ready sketch: clean, symmetric, and readable at arm’s length.
Want structured practice beyond tattoos? Artists Network offers free drawing fundamentals that sharpen any sketching habit.
40 Butterfly Tattoo Drawing Ideas by Style
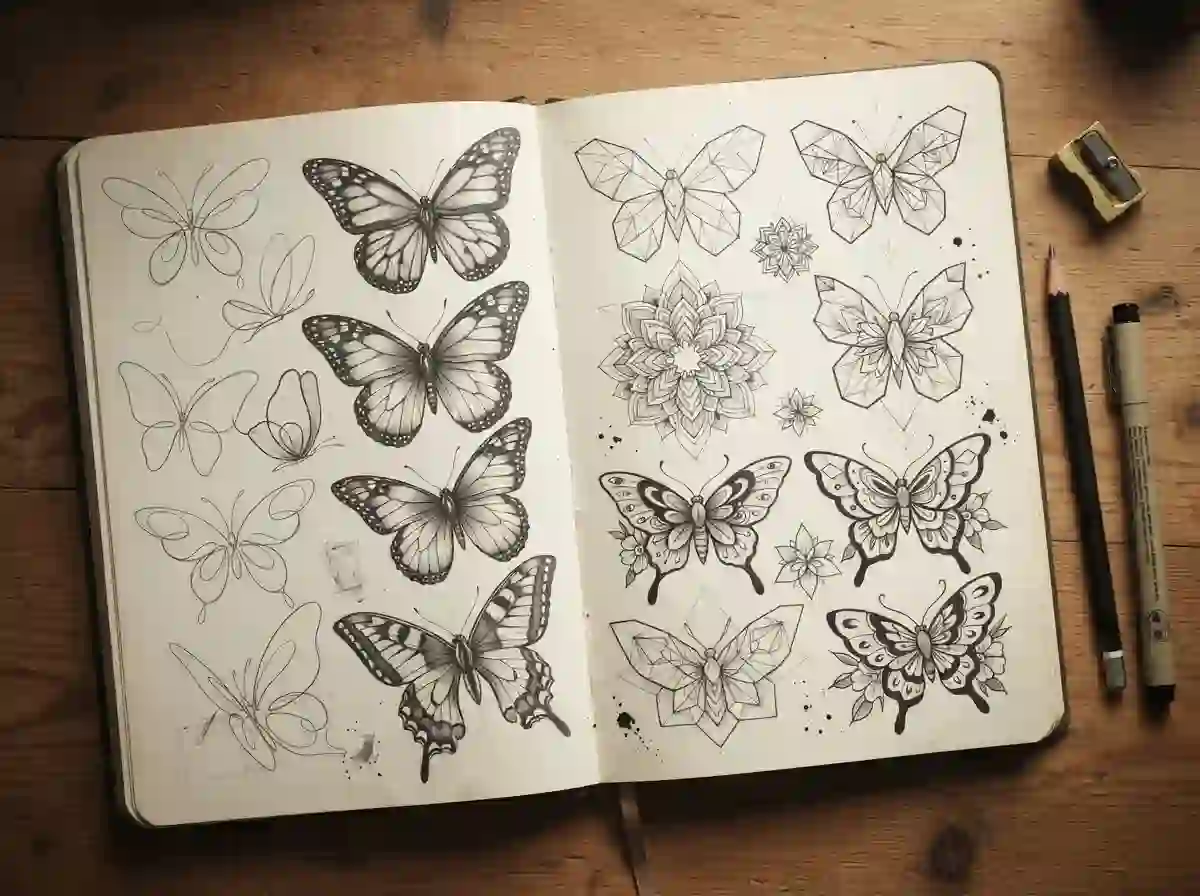
Each concept below works as a starting sketch — trace the structure, then make it yours. Grouped by style so you can match it to the look you already love.
Fine Line Sketches (1–6)
- Butterfly with a single trailing line falling from wing to wrist
- Flight path: dotted curve with three tiny butterflies along it
- Half butterfly, half wildflower sharing one stem
- Open-wing butterfly with antennae curling into a heart
- Butterfly inside a thin geometric diamond frame
- Wing details made entirely of tiny dots and dashes
Realistic Studies (7–12)
- Monarch study with full vein pattern and edge spots
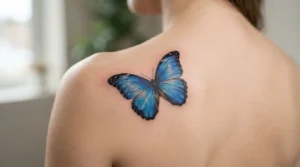
- Blue morpho with layered wing segments for gradient shading
- Side-view butterfly with one folded wing, landing pose
- Butterfly with torn-edge wing (perfect resilience symbolism)
- Two butterflies, one detailed, one dissolving into lines
- Close-up wing texture study with scale patterns
Minimalist One-Line Designs (13–18)
- Single continuous line butterfly — no pen lift, no erasing
- Butterfly reduced to three overlapping triangles
- Crescent moon cradling a tiny open-wing butterfly
- Outline butterfly formed by two heart-shaped wings
- Semicolon tail flowing into butterfly wings
- Butterfly silhouette inside a thin circle, like a stamp
Traditional Flash Style (19–24)
- Classic flash butterfly with bold outline and three color zones
- Butterfly with a rolled banner beneath it for a word or date
- Butterfly paired with a small dagger or rose
- Nautical butterfly with a tiny anchor below
- Lucky butterfly with horseshoe and stars
- Bold symmetrical butterfly sized for the shoulder
Watercolor-Ready Sketches (25–30)
- Line-only butterfly with open wings left blank for color
- Butterfly with splatter zones sketched as loose circles
- Half butterfly in lines, half in suggested wash shapes
- Butterfly inside a rough watercolor rectangle frame
- Wings with drip-guide lines falling off the lower edge
- Butterfly dissolving into paint drops on one side
Curious how these sketches turn into finished color pieces? See real results in our guide to watercolor butterfly tattoo designs — including the honest fading facts.
Geometric & Blackwork (31–35)
- Butterfly built from triangle and hexagon segments
- Symmetrical wings filled with dotwork gradients
- Butterfly with mandala-pattern wings
- Half realistic, half geometric — the “glitch” butterfly
- Butterfly centered in a sacred geometry lattice
Small & Simple Sketches (36–40)
- Fingernail-size butterfly with two dots for wings
- Tiny outline butterfly with a single interior vein
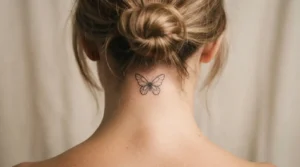
- Minimal wing pair sized for behind the ear
- Micro butterfly with a one-inch wingspan, forearm placement
- Simple silhouette with antennae only as detail
Small sketches age differently than large ones — before committing to a tiny design, check our small butterfly tattoo ideas that age well so your lines stay crisp for years.
From Paper to Skin: What Translates and What Doesn’t
Here’s the honest part. Skin is not paper, and ink is not pencil. Some drawing choices survive the needle beautifully; others quietly fall apart within a few years. Use this table before finalizing your design:
| Your Drawing Choice | How It Behaves on Skin | What to Do Instead |
|---|---|---|
| Feather-fine pencil lines | Blurs first — sub-0.3mm lines merge within years | Thicken final lines to 0.5mm or heavier |
| Clusters of tiny dots | Dots merge into a smudge | Space dots at least 2mm apart |
| Smooth pencil shading | Translated via whip shading by the artist | Mark light/dark zones, let the artist render |
| Intricate detail under 2 inches | Loses readability fast | Simplify the design or size up to 3in+ |
| Colored-pencil gradients | Possible as watercolor or solid color work | Discuss saturation honestly with your artist |
| Perfect digital symmetry | Great — artists love clean references | Keep symmetry; hand-drawn charm is welcome too |
The full style-by-style aging picture is in our complete butterfly tattoo guide — worth a read before you finalize anything.
Simple Tools to Start Sketching Today
- Paper basics: any HB pencil, a soft eraser, and 0.3–0.5mm fine liners for final lines
- Tracing paper: perfect for the flip-and-mirror symmetry trick and for layering revisions
- Free digital: IbisPaint X (phone) handles symmetry with a mirror layer
- Pro-level digital: Procreate on iPad is what many tattoo artists actually use — the symmetry tool draws both wings at once
- Printer + temporary tattoo paper: print your finished sketch at real size and wear it for a few days
Turning Your Drawing Into a Custom Tattoo
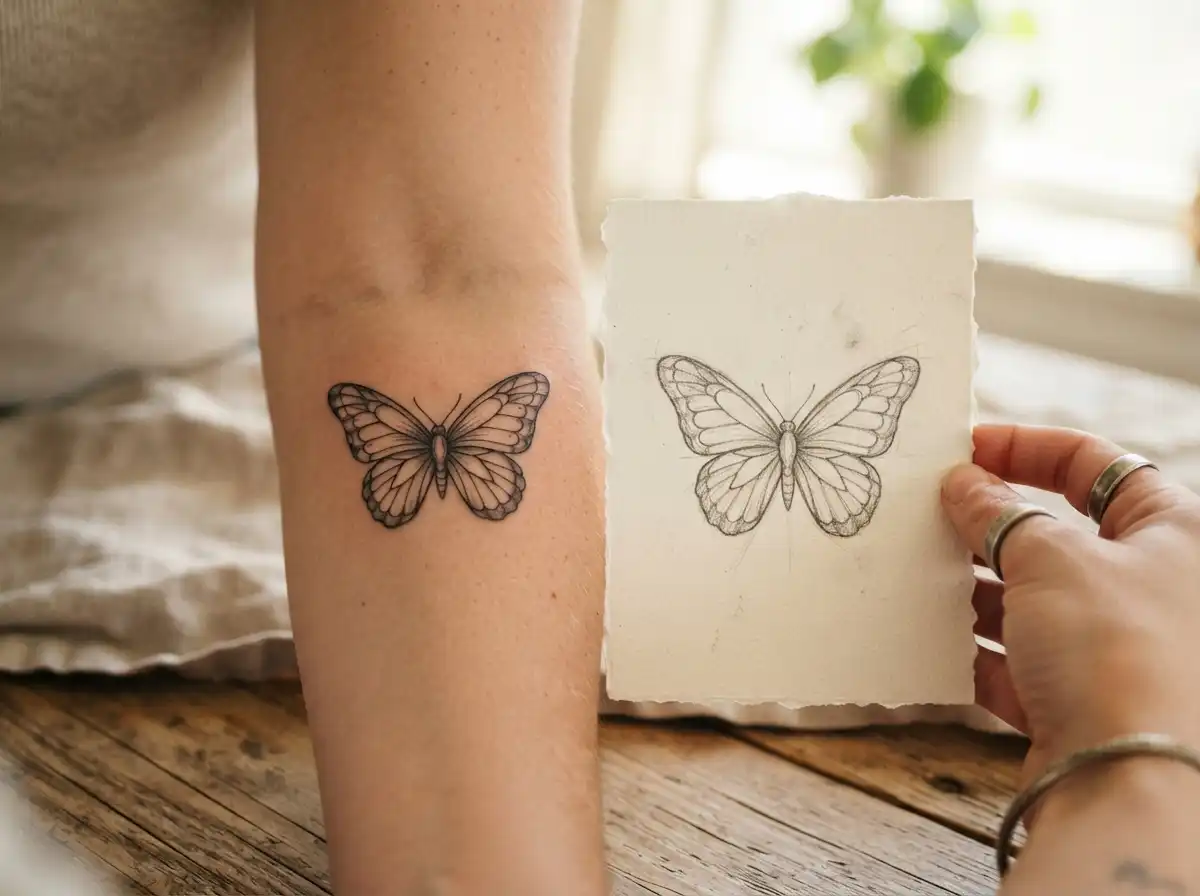
Bring your sketch to the consultation along with two or three reference photos. The conversation goes like this: “Here’s the structure I want, here’s the feeling I’m going for, and here’s what matters most to me.” That combination gives the artist everything they need to draw a custom piece that’s genuinely yours.
Expect them to redraw it — that’s not rejection, that’s expertise. They’ll adjust line weights for how skin holds ink, simplify details that won’t survive, and adapt proportions to your placement’s shape. Your sketch is the brief; their redraw is the tattoo. Then comes the stencil stage, where the design lands on your skin for final approval — the full process is covered in our butterfly tattoo stencil guide.
One etiquette note: reputable artists won’t copy another artist’s finished tattoo one-to-one, but they’ll always build from your own original sketch. That’s a feature, not a limitation — nobody else will have your butterfly.
FAQ About Butterfly Tattoo Drawings
Do I need to know how to draw to get a butterfly tattoo?
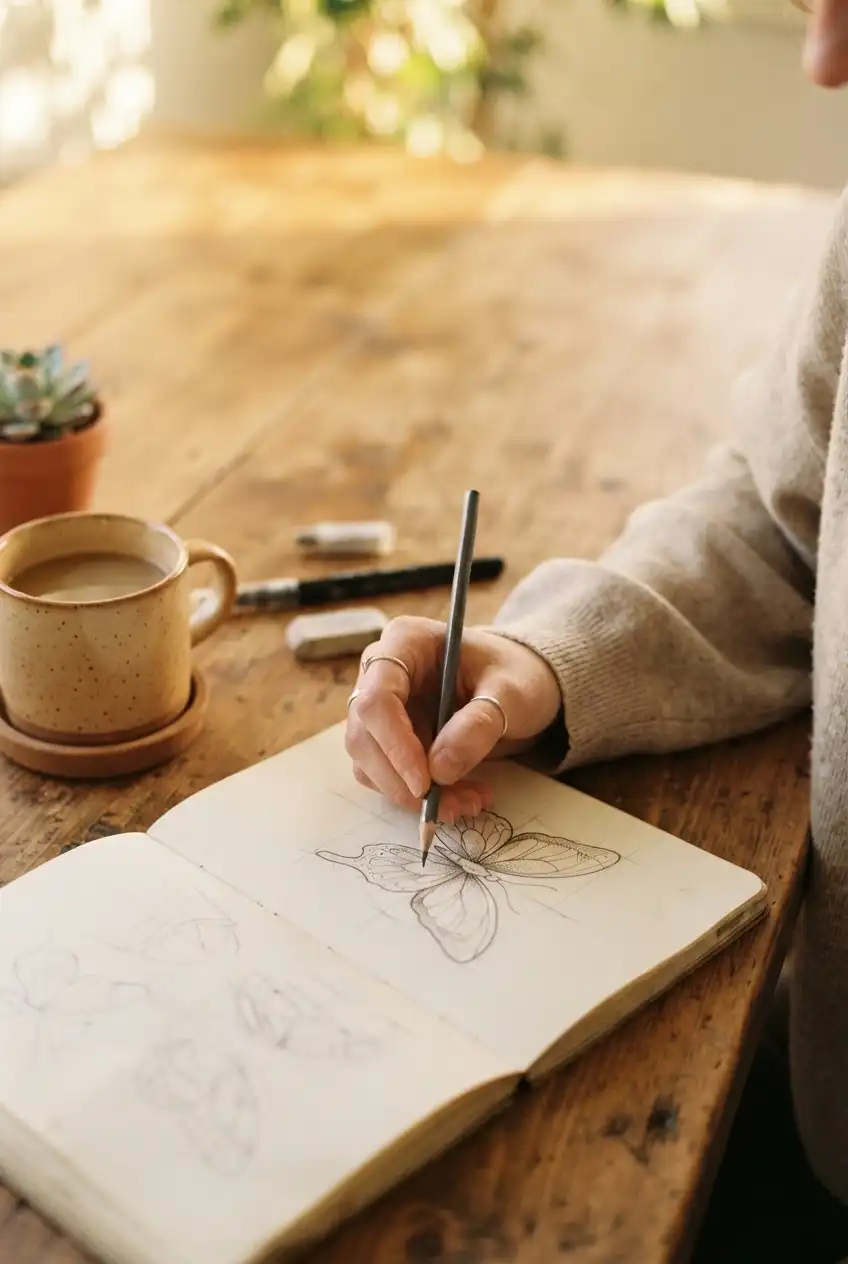
Not at all. Your artist designs tattoos for a living — a Pinterest board is enough. But even a rough sketch of your butterfly tattoo concept helps you communicate size, direction, and the details you care about, which means fewer revisions and a result closer to what you imagined.
What should I bring to my artist — a drawing or photos?
Both, if you can. Photos show style and mood; your drawing shows personal intent. Artists consistently say a client sketch — even clumsy — is the most useful reference there is, because it reveals which details matter to you and which they can take creative freedom on.
How detailed can a butterfly tattoo drawing be?
Depends entirely on final size. At 2 inches, keep it to outline, simple veins, and a few dots. At 4 inches or more, full realism works. As a rule: if two details sit closer than 2mm on your paper, they’ll blur together on skin within a few years.
Can I draw my tattoo on my skin to test placement?
Yes — an eyeliner or washable marker sketch works for a quick mirror check. For a truer test, print your drawing on temporary tattoo paper and wear it for two or three days. Living with a design beats imagining it, and it costs almost nothing.
What app can I use to design a butterfly tattoo?
IbisPaint X is free and includes a mirror-symmetry layer that draws both wings at once. Procreate on iPad is the industry favorite among tattoo artists. Even the free Canva sketch tools work for rough layout. Digital or paper — what matters is clarity, not polish.
Final Thoughts
A butterfly tattoo drawing costs you fifteen minutes and a sheet of paper — and it might be the difference between ink you tolerate and ink you love at eighty. Sketch the concept, respect what skin does to fine details, wear the temporary version, and hand your artist a brief they’ll genuinely enjoy working from.
When your sketch feels right, the pipeline is simple: refine it with our complete butterfly tattoo guide, test it on skin, and take it to a stencil session. The best butterfly tattoo drawing is the one only you could have drawn — because it came from your story, not a saved folder.